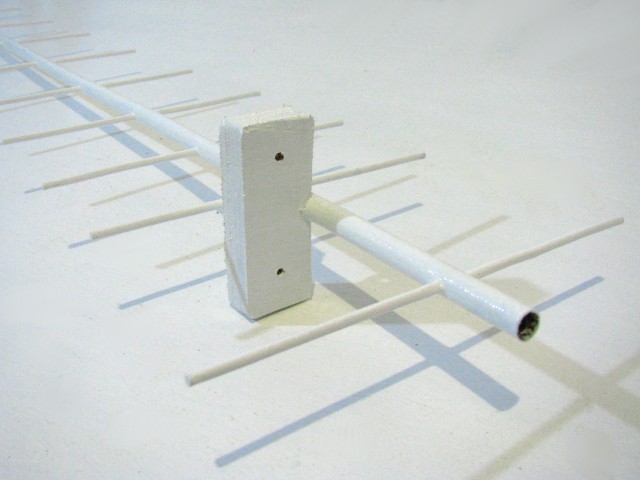
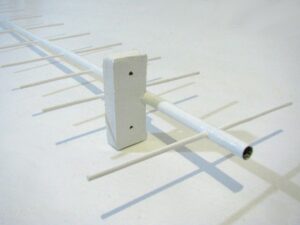
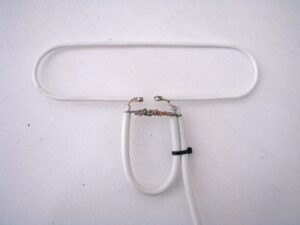
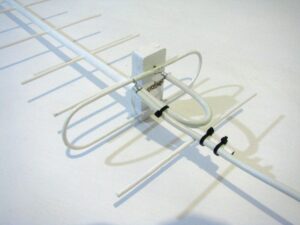
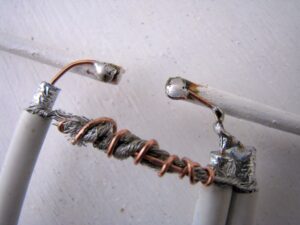
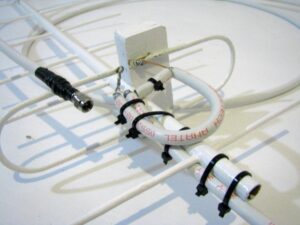
This week I finally finished off the antenna which involved putting about six coats of paint on it to make it look nice and to protect it from corrosion, and then glueing a piece of wood to the side to support the folded dipole in exactly the right position (centred and 101mm from the end). And then the balun had to be attached which is just a U-shaped piece of the RG-6 coax cable of exactly the right length connected to the folded dipole.
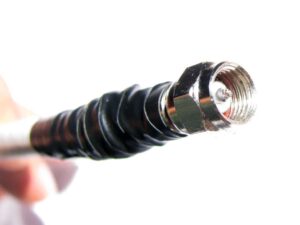
I had to do a little bit of gambiarra to get the plug on the end because firstly the router uses a Reverse polarity SMA connector (RP-SMA) but my connector is normal polarity, and secondly the RG-6 coax cable I’ve used is too thick for SMA connectors. Luckily I was able to solder the cable to the plug and poke some excess of the solid core through and solder the end to make the required sticking-out bit that a female RP-SMA plug should have. I then covered up the horrible mess with tape 😉 I’ll still need to finalise it by putting some silicone or epoxy over the exposed wire parts to protect it from the weather, but I’ll wait until after it’s working before doing that.

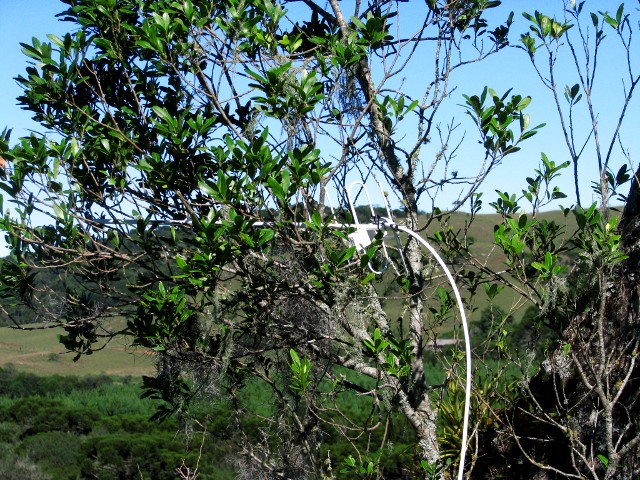
In the weekend we went to the land with the antenna ready for testing on the hill! I took the antenna, router and laptop up the hill so that I could look at the signal strength while adjusting the position of the antenna. First using only the router’s internal antenna I got a usable connection with one bar signal strength. Then I plugged the antenna in and it dropped down to zero connection, but then when I put the antenna in the branches of a nearby bush so that it was pointing in approximately the right direction, the connection went up to two bars, and then a few seconds later after I started loading some pages, the connection went up to a full five bars and stayed there persistently!
This result was better than I had dared to hope for! it looks like being a perfectionist and making everything to sub-millimetre accuracy and smoothing off all the rough bits of metal really paid off 🙂 But it gets even better! it turns out that the rural VIVO towers do actually have 3G capability, but since the towers have to cater for mainly long-distance users they provide it over the 850MHz band instead of the usual 2.1GHz – and my connection was now good enough for the “w850” option to become available! When I selected this the connection changed from EDGE to WCDMA and the signal dropped down from five bars to only two bars, but the connection was still very responsive and usable – and more importantly was working about five times faster than the five-bar 2G signal! I did a speed test and was getting a consistent one megabit connection – a far better result than I could possibly have hoped for!
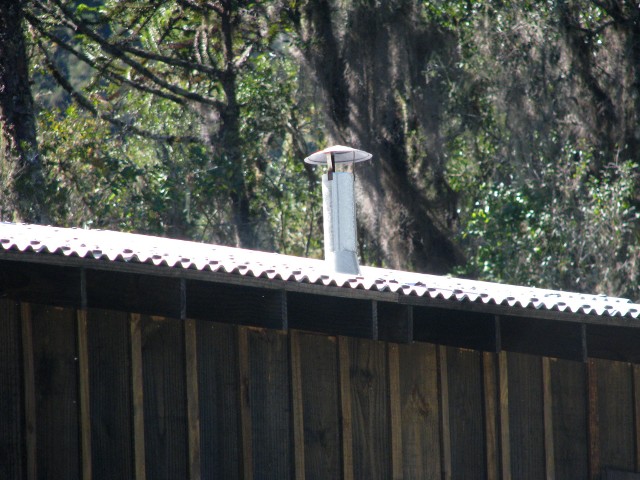
The next project we wanted to sort out in the weekend was the chimney. I thought this would be quite simple, but it turned out to be a bit more complex than I thought – the main problem was that I didn’t know what the proper method was of attaching the top tube to the covering piece and also it was extremely difficult to reach and work on as the ladder is too short to rest on the edge of the roof overhang. I worked out a gambiarra method of attaching the top with some fencing wire which should be good enough to withstand strong winds pulling at the chimney top.
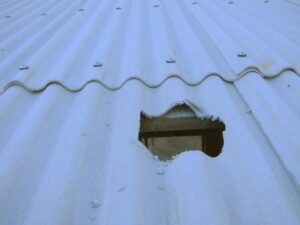
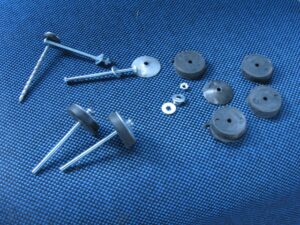
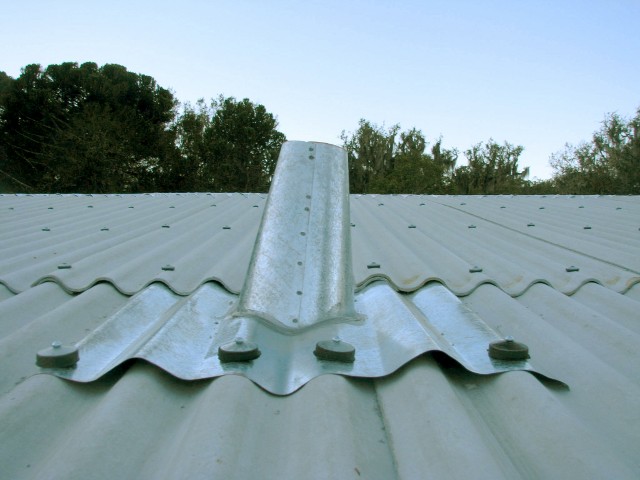
First was the easy bit – cut the hole through the corrugated roofing panels, loosen some of the nails, slide the top side chimney cover piece under them, hammer them back down and bolt the bottom side of the cover piece. I couldn’t get any roofing bolts, so I bought some normal bolts and converted some roofing nails – bolts were necessary for this because there’s no perlin on the inside to nail them into.
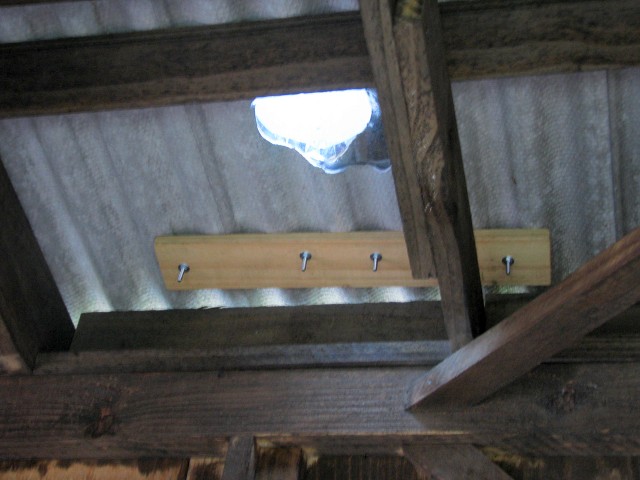
Unfortunately the cover piece wasn’t made very well and its corrugations didn’t match those of the roof so we’ll need to put some of the silver weather-proof tape over this as well! Next was the difficult gambiarra bit, I attached a loop of fencing wire around each of the three attachments of the top dome piece and fed them down the cover piece to the inside where I could attach them to the roof perlins and twist them tight with pliers. This way any force exerted on the chimney top by strong wind won’t be able to lift any part of it away from the roof.
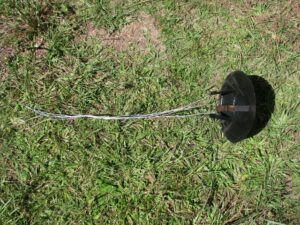

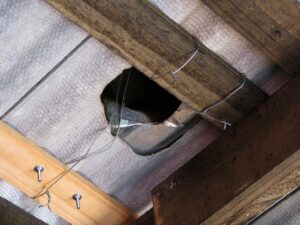
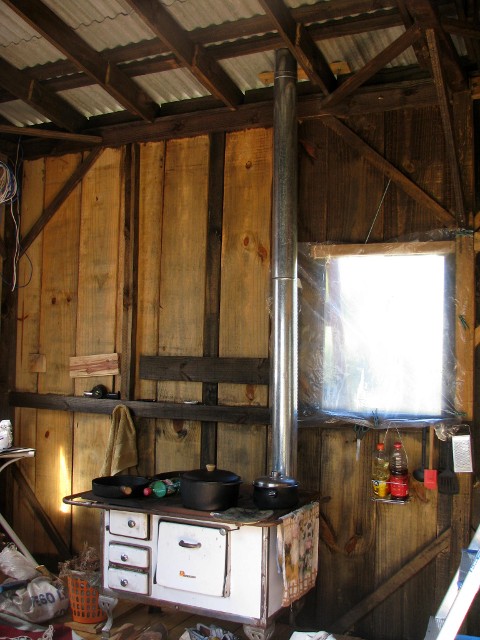
And finally, I could then cut a small section of the pipe to extend the main pipe to the right length to connect the ‘coski to the new hole and cover piece!
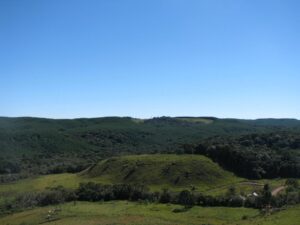
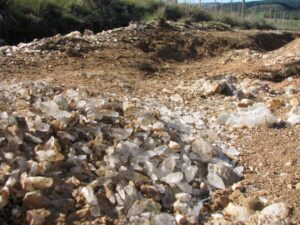
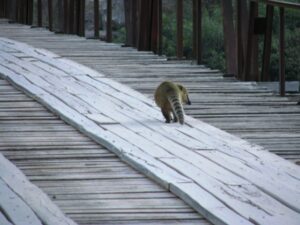
And then all of a sudden it was Monday and time to head back 🙁 I went for a walk in the morning and sun-bathed for half an hour on my “morning rock”, and then we set off down “Crystal Road” to get our bikes which we’d locked up in the forest and head back, the Crystals are most dense at the last point where you can still see our local hill (shown in the photo below). As we were cycling over the bridge at Parque da Cachoeira on the way back a cute Quati ran across before us 🙂
