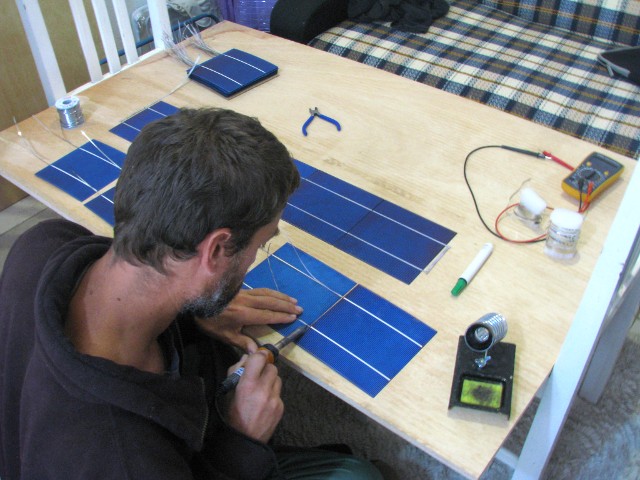
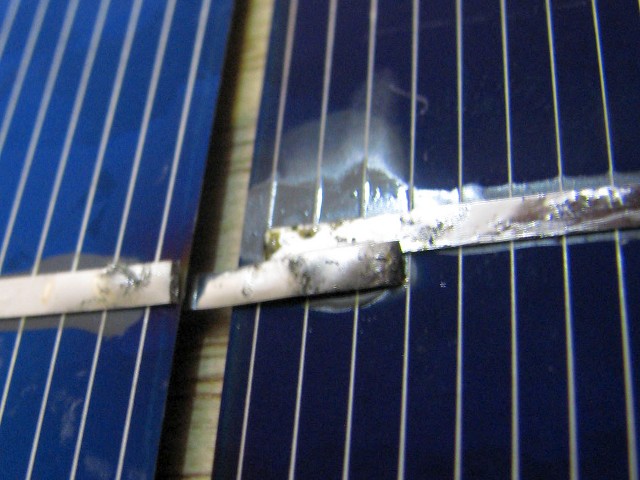
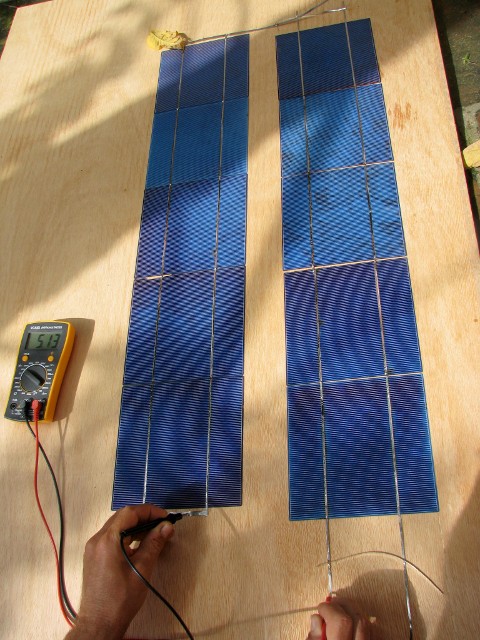
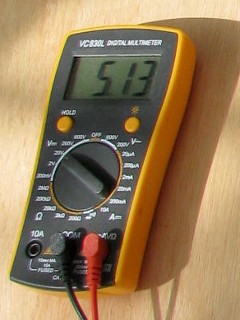
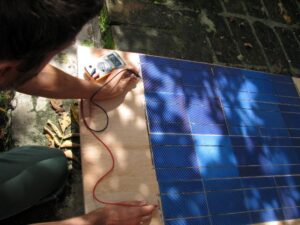
This week started with more work on the solar panels. First I got a large sheet of weather-proof ply wood and got it chopped into four equal pieces of 80cm by 120cm which is enough for four panels (I only have enough cells for two panels so far though). Next I started soldering the cells together into groups of five in series by attaching the tabbing wire that had previously been soldered to the backs to the fronts. One problem that came up with this procedure was that I discovered that I actually have three different types of panels! they’re all the same size, but there’s two slightly different widths between the connection strips, which meant I had to do some dodgy connecting of some of the cells as shown in the second picture below. The final pictures show a voltage measurement on a series of ten cells which is reading correctly at just over 5 volts.
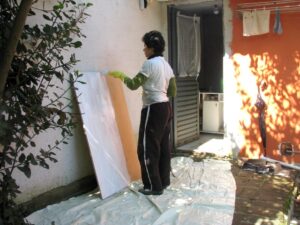
I’ve now got all four rows of five cells soldered together to make the first panel. I temporarily joined them to test the voltage and it’s looking good at 10.59 volts 🙂 The cells are incredibly fragile and I’ve broken some small bits of some and have some cracks in others, it’s like trying to solder together slim potato chips! Not all cells are quite as fragile as this though, one of the three types I’ve got feels a lot sturdier, so I hope that the next set of forty I purchase will all be the same and of the more sturdy type. Here’s a photo of the measuring of all the cells and another of Beth painting the wood ready for final assembly!
